 Pin to Board
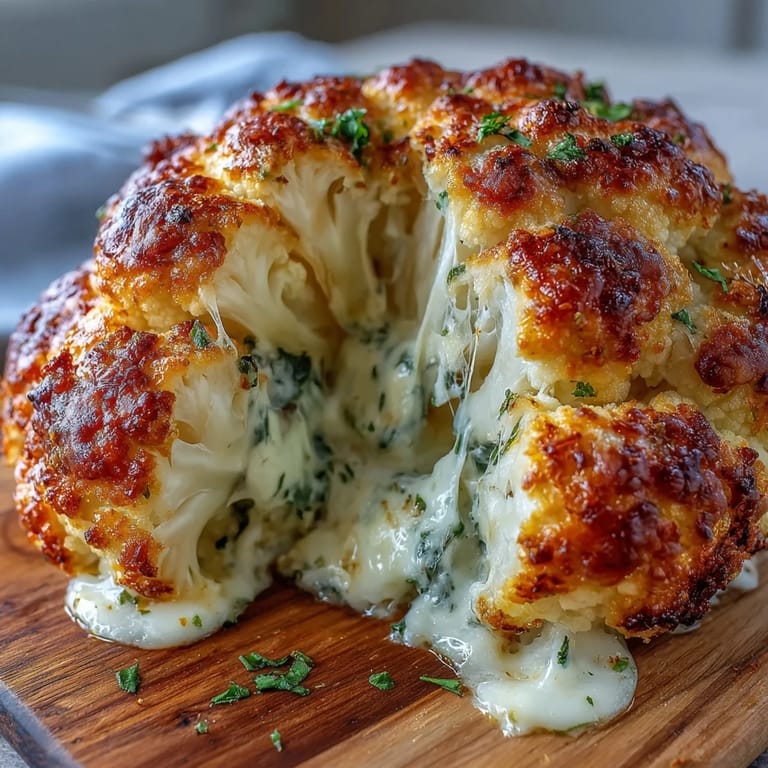
 My friend Sarah brought this to a dinner party last spring, and I watched people's faces shift from polite curiosity to genuine amazement as she sliced into this golden, cheese-filled cauliflower head. It wasn't what anyone expected, but somehow it became the dish everyone talked about for weeks. I've since made it countless times, and it never fails to feel like something special happening in the kitchen.
I'll never forget the Tuesday evening when my partner came home early and found me elbow-deep in stuffing cheese into cauliflower crevices, looking decidedly less graceful than I'd imagined. He laughed at the mess but stayed to help, and we ended up with this collaboration that tasted twice as good because we'd made it together.
Ingredients
- 1 large whole cauliflower (about 1 kg), leaves and stem trimmed but intact: Choose one that's dense and creamy white; loose or yellowing heads won't hold the filling as well.
- 1 tbsp olive oil: Use something you actually like the taste of since it brushes the outside and matters to the final flavor.
- ½ tsp salt and ¼ tsp black pepper: Season the cauliflower itself, not just the filling, so every bite has flavor.
- 150 g cream cheese, softened: Let it sit on the counter for 20 minutes before mixing so you don't end up with lumps in your filling.
- 100 g shredded mozzarella cheese: This melts beautifully and keeps everything creamy rather than dense.
- 50 g grated Parmesan cheese: The sharpness cuts through the richness and adds depth you didn't know you needed.
- 2 tbsp chopped fresh chives and 1 garlic clove, minced: These brighten everything up; they're worth hunting down fresh chives for.
- ½ tsp smoked paprika and ¼ tsp ground nutmeg: The paprika adds warmth, and the nutmeg is subtle but transforms the filling into something more refined than expected.
- 1 tbsp milk: This loosens the cheese mixture so it spreads into those tight cauliflower crevices without tearing anything.
- 50 g shredded cheddar cheese and 2 tbsp breadcrumbs: These create that gorgeous golden crust that catches the light when you bring it to the table.
- 1 tbsp melted butter: Toss this with the breadcrumbs to make them toast properly rather than just sitting there dry.
Tired of Takeout? 🥡
Get 10 meals you can make faster than delivery arrives. Seriously.
One email. No spam. Unsubscribe anytime.
Instructions
- Preheat and prepare your workspace:
- Get the oven to 200°C (400°F) and line your baking tray with parchment paper so cleanup is simple and nothing sticks.
- Trim the cauliflower carefully:
- Remove the outer leaves and trim the base flat so it sits stable on the tray without rolling around. The florets should stay together as one unit.
- Blanch it just right:
- Drop the whole head into boiling salted water for 8–10 minutes until it's tender enough to pierce but still holds its shape. Drain thoroughly and let it cool enough to handle.
- Make the creamy filling:
- Combine softened cream cheese, mozzarella, Parmesan, chives, garlic, smoked paprika, nutmeg, and milk in a bowl until completely smooth. Taste it if you like; you're essentially making a sophisticated cheese sauce that happens to live inside a cauliflower.
- Carve pockets for the cheese:
- Place the cooled cauliflower on the tray and use a small sharp knife to carefully cut deep channels between florets and into the base, creating natural pockets without cutting all the way through. Take your time here because rushing leads to accidental holes.
- Stuff generously:
- Spoon and press the cheese mixture into every crevice and pocket, using your fingers if needed to nestle it in. Don't be shy; the filling should be visible throughout.
- Season the outside:
- Brush the whole cauliflower with olive oil, then sprinkle with salt and pepper so the florets toast golden.
- Make the crispy topping:
- Toss shredded cheddar cheese with breadcrumbs and melted butter, then sprinkle this mixture evenly over the top of the stuffed cauliflower.
- Roast until golden:
- Bake for 40–45 minutes until the top is golden brown and bubbling at the edges, and a knife inserted into the thickest part meets no resistance. The kitchen will smell incredible.
- Rest before serving:
- Let it sit for 5 minutes after coming out of the oven, then slice into wedges like you would a cake. This makes plating cleaner and lets the cheese set slightly.
 Pin to Board
 There's this quiet moment when you pull this golden head from the oven and realize it's actually worked, that you've created something both beautiful and delicious with your own hands. My mom actually teared up when I served her a wedge, not because it was fancy, but because it felt like real cooking—thoughtful and a little bit magical.
Flavor Additions You Can Experiment With
Once you've made this a few times and feel comfortable with the base, you can start playing with the filling. I've added sun-dried tomatoes for tanginess, sautéed mushrooms for earthiness, and even crispy bacon crumbles for richness. A handful of fresh spinach wilted into the cheese is lovely too, though squeeze out any excess moisture first.
Pairing and Serving Ideas
This works beautifully as a vegetarian main dish, but it's equally stunning as a side to roasted chicken or fish. I serve it with a sharp green salad dressed in lemon vinaigrette to cut through the cheese, or alongside roasted root vegetables for earthiness. On nights when we're feeling fancy, we add a crispy white wine alongside.
Make-Ahead and Storage Tips
You can prep this almost entirely ahead of time, which makes entertaining actually relaxed. Blanch and stuff the cauliflower up to 4 hours before baking, then just add the cheese-breadcrumb topping and roast when ready. Leftovers keep well in the fridge for two days and reheat beautifully, though the topping loses some crispness, so I like to add fresh crumbs and broil it briefly to restore that texture.
- Prepare the cheese filling a day ahead and store it covered in the fridge to save yourself a step on cooking day.
- If you're freezing, do it after blanching but before stuffing, then stuff and bake from frozen, adding about 15 extra minutes to the cooking time.
- This makes excellent leftovers served cold with a salad, though most people prefer it warm and freshly roasted.
 Pin to Board
 This dish reminds me that sometimes the most memorable meals come from taking one good ingredient and treating it with a little creativity and care. It's become one of those recipes I return to again and again.
Recipe Questions & Answers
- → Can I prepare the cauliflower ahead of time?
Yes, you can blanch the cauliflower up to a day in advance and store it refrigerated. Prepare the cheese filling separately and keep it chilled. Stuff and bake when ready to serve for the best texture and flavor.
- → What other cheeses work well in the filling?
Gruyère adds a wonderful nutty depth, while fontina provides excellent meltiness. You could also incorporate sharp cheddar for extra flavor or try herbed Boursin for a ready-seasoned option.
- → How do I know when the cauliflower is fully cooked?
Insert a knife into the thickest part of the cauliflower center—it should slide through easily with no resistance. The exterior should be golden brown, and the cheese topping should be bubbling and lightly crisp.
- → Can I make this vegan?
Absolutely. Use vegan cream cheese and shredded vegan cheese alternatives. Substitute the butter with olive oil or melted vegan butter, and ensure your breadcrumbs are certified vegan.
- → What should I serve with stuffed cauliflower?
A crisp green salad with vinaigrette balances the richness beautifully. Roasted vegetables like Brussels sprouts, carrots, or potatoes complement the dish. It also pairs well with crusty bread to soak up any melted cheese.
- → Why do I need to blanch the cauliflower first?
Blanching ensures the cauliflower becomes tender throughout during the baking process. Without this step, the exterior would burn before the interior cooks fully. Eight to ten minutes is perfect—you want it just tender, not mushy.