 Pin to Board
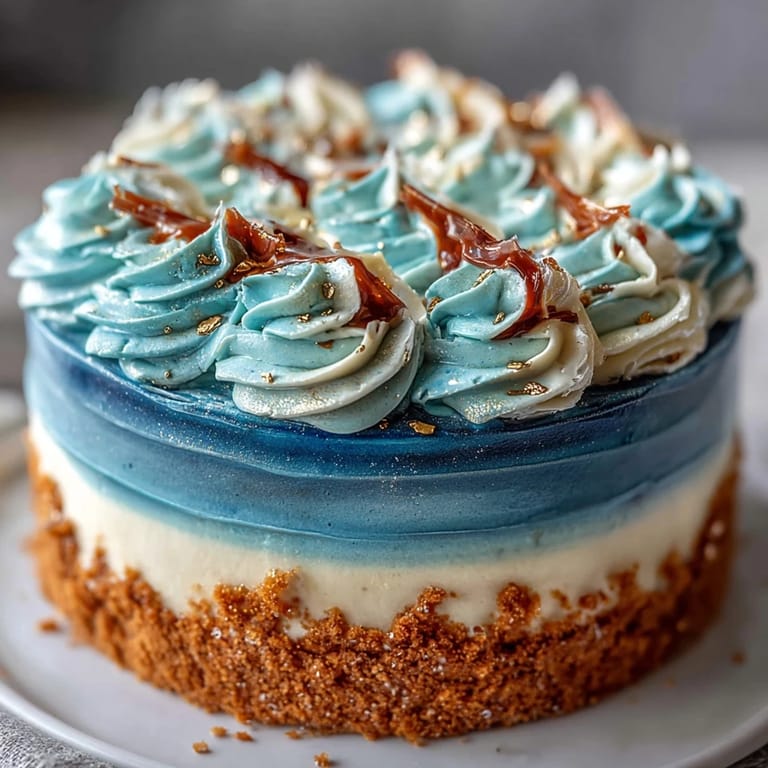
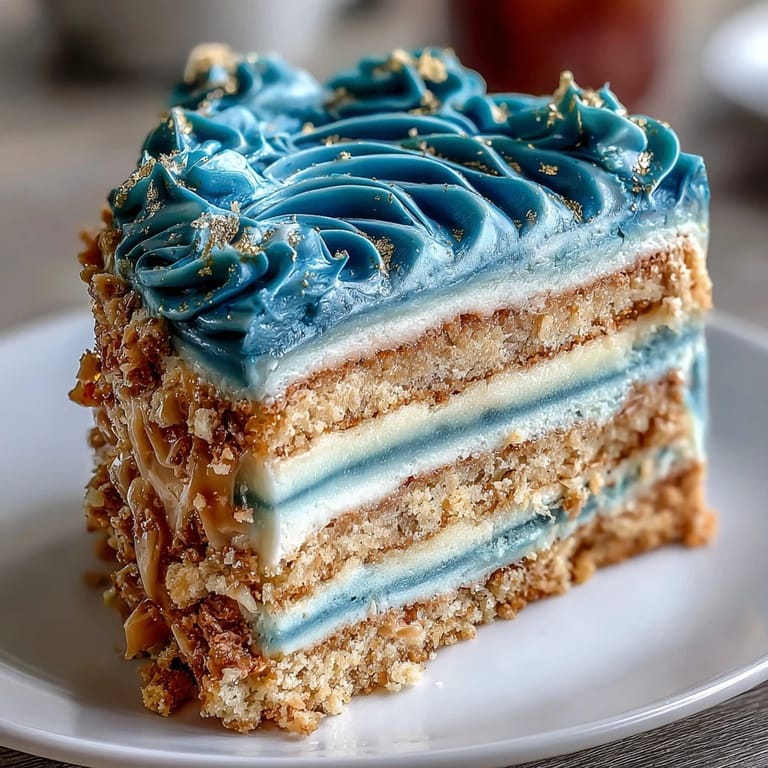
 The first time I made this dark blue and gold ombre graduation cake, the kitchen counters ended up dusted with bits of gold and streaks of blue, a testament to my mixed enthusiasm and nerves. I remember the hum of excitement in the air, punctuated by the sound of the mixer spinning as I tried to get the buttercream to that cloud-like consistency. There was something about layering those bold colors—each shade a little deeper than the last—that made the whole process unexpectedly satisfying. The scent of vanilla filled my house, and I couldn't help but feel a rush seeing the gold accents transform a simple cake into a centerpiece. If you've ever wanted a dessert to celebrate a milestone with a bit of drama, this cake is unmistakably perfect.
Last summer, I made this cake for my cousin's graduation, and the kitchen felt like a miniature studio with all the bowls lined up, each filled with a different blue. We laughed as we debated which shade was "most school spirit," and in the background, friends hovered, sneaking tastes of leftover icing. The afternoon sun streamed through the window, adding a shimmer to the edible gold leaf just as I placed the final streak on top. When we brought it out after dinner, everyone paused for a moment to admire it before diving in. Somehow, that day, the cake was more about togetherness than the recipe itself.
Ingredients
- All-purpose flour: Go for quality and sift it once to ensure your cake crumb is extra soft, especially important for layered cakes.
- Baking powder and baking soda: Don't skip checking their freshness—the rise really matters for clean ombre layers.
- Unsalted butter: Let it fully reach room temperature; cold butter won't mix smoothly and may cause lumps.
- Granulated sugar: Cream it until pale to create that airy texture before adding eggs.
- Eggs: Room temperature eggs blend effortlessly and help the batter emulsify smoothly.
- Pure vanilla extract: This adds depth—a touch more never hurts if you love vanilla.
- Whole milk: Slightly warm milk works wonders for uniform blending—avoid straight-from-the-fridge.
- Blue gel food coloring: Using three shades (navy, royal, light blue) gives you the boldest gradient; gel is vivid and doesn't water down the batter.
- Powdered sugar: Sift it well for buttercream that's lump-free and silky.
- Milk or cream: Adjust by spoonfuls to get buttercream to your ideal spreadable texture.
- Dark blue gel food coloring: This makes your outer frosting pop; add gradually so it's not too intense.
- Edible gold leaf or gold dust: Adds an elegant finish—apply carefully, as it sticks to everything!
- Clear alcohol (vodka or lemon extract): Just a dash helps gold dust adhere without leaving a flavor.
Tired of Takeout? 🥡
Get 10 meals you can make faster than delivery arrives. Seriously.
One email. No spam. Unsubscribe anytime.
Instructions
- Prep Your Pans:
- Grease three 8-inch pans, line with parchment, and feel confident knowing your layers will release perfectly when cooled.
- Mix Dry Ingredients:
- Whisk flour, baking powder, baking soda, and salt together until the mixture feels fluffy, almost blending with the air.
- Cream Butter and Sugar:
- Beat butter and sugar until the mix is pale and noticeably lighter—don’t rush, this step builds the cake’s structure.
- Add Eggs and Vanilla:
- One egg at a time, then vanilla, watching the batter gloss up and grow in volume as you mix.
- Combine Wet and Dry:
- Alternate flour mixture and milk, starting and ending with flour, blending only until you see no streaks of dry flour left.
- Color and Divide Batter:
- Spoon batter into three bowls, tinting each with a different blue; stir gently to avoid deflating the mix, and marvel as each layer emerges.
- Bake:
- Pour colored batters into pans, smooth the tops, and bake until a toothpick comes out clean, usually around 25–30 minutes.
- Cool Completely:
- Let cakes rest in pans for about 10 minutes, then transfer to wire racks so they finish cooling without getting soggy.
- Make Buttercream:
- Beat butter till creamy, slowly work in powdered sugar, mix in vanilla and milk, then watch it transform into fluffy icing.
- Tint Buttercream:
- Set aside some plain for the crumb coat, tint the rest dark blue for drama, and adjust the shade as you like.
- Assemble Layers:
- Level cakes if needed; start with the darkest blue on the plate, spread buttercream, stack the layers, and repeat to the top.
- Crumb Coat and Chill:
- Apply a thin coat of reserved buttercream, seal in crumbs, and chill for at least 20 minutes for easier final frosting.
- Frost and Ombre:
- Smooth dark blue buttercream all around, and, for ombre effect, gently blend lighter tones towards the top for a gradient look.
- Gold Accents:
- Carefully place edible gold leaf or brush gold dust mixed with alcohol on the surface, creating streaks or gilding the edges.
- Chill and Serve:
- Let the decorated cake chill until ready to slice and celebrate, ensuring the buttercream holds its design.
 Pin to Board
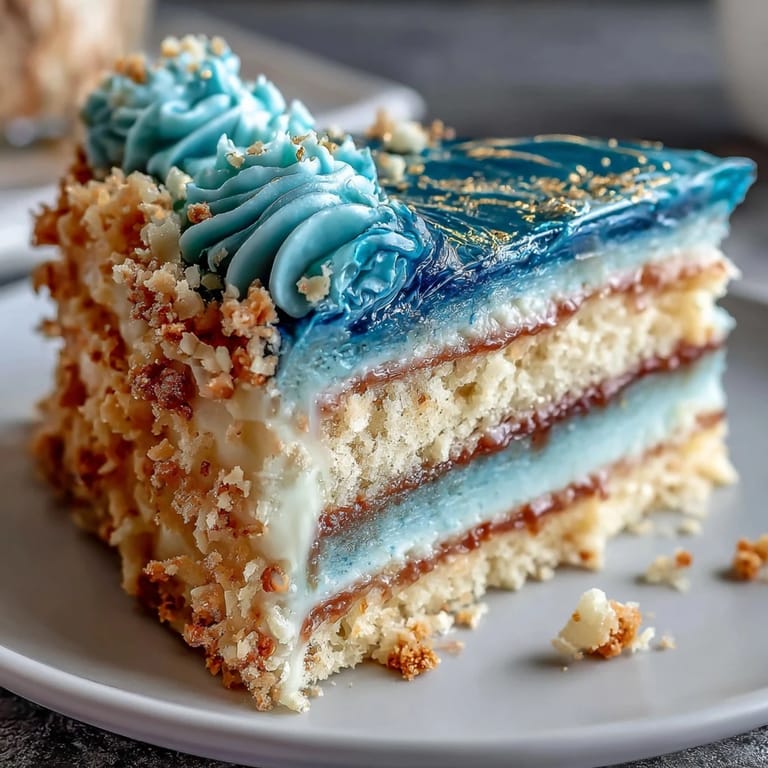
 The moment the cake was placed on the table, laughter broke out as everyone tried guessing which layer was the blue-est. It was more than just dessert; it was a talking point and a little bit of friendly competition. My uncle, never a fan of sweets, asked for seconds, convinced the gold streaks made it taste even better. The cake also became photo-famous: every phone was out to capture its shine. It’s these moments that make the process worth every minute.
Choosing Your Shade of Blue
Don’t be afraid to experiment with blue shades and intensity—even a slightly uneven ombre adds charm. Sometimes, mixing a dash of royal and navy creates that perfect in-between color. If you’re using natural light in your kitchen, check how the color looks before you bake—it can shift once it’s in the pans. The blend of blues makes each cake unique, so relax and enjoy the process.
Making Buttercream Extra Smooth
I always use a stand mixer and let the butter cream on high for a few extra minutes—it turns the icing from good to almost whipped. If you prefer a lighter frosting, swap part of the milk for cream; it makes all the difference for spreading and piping. Sifting powdered sugar is a step that saves you from unexpected lumps. Keep your spatula wet to smooth the surface, especially when blending color gradients.
Gold Touches That Wow
Add gold decoration just before serving to preserve its shine. Edible gold leaf can be tricky—use tweezers for precise placement. Brush gold dust gently, don’t overdo it, and avoid getting it on your fingers.
- Wait until buttercream is fully set before applying gold.
- Gold leaf is delicate—a chill draft or shaky hands can move it.
- Check all gold products to be sure they’re edible.
 Pin to Board
 There's such a sense of accomplishment when this cake comes out vibrant and proud with its gold glimmers. Share a big slice at your next graduation—people remember desserts like this.
Recipe Questions & Answers
- → How do you create the ombre effect in the cake layers?
Divide the batter into separate bowls and tint each one with varying shades of blue gel coloring to achieve a gradient from light to dark. Bake each colored batter in its own pan for distinct ombre layers.
- → What buttercream is best for this cake?
Vanilla buttercream is ideal for both crumb coating and final frosting. It provides a smooth texture and pairs well with blue coloring and gold accents.
- → How do you apply edible gold decoration?
Apply edible gold leaf directly to frosted cake surfaces or brush on gold dust mixed with clear alcohol for streaked or edged effects. Ensure decorations are food-safe.
- → Can the cake be made in advance?
Yes, baked layers can be made ahead and stored well-wrapped. Assemble and frost shortly before serving for best freshness and appearance.
- → What serving suggestions enhance the celebration?
Pair with sparkling apple cider or Prosecco and decorate with themed toppers, chocolate stars, or fresh berries for a festive touch.
- → What allergens are present in the cake?
The cake contains wheat (gluten), eggs, and dairy. If using gold decorations, check packaging for additional allergens.